
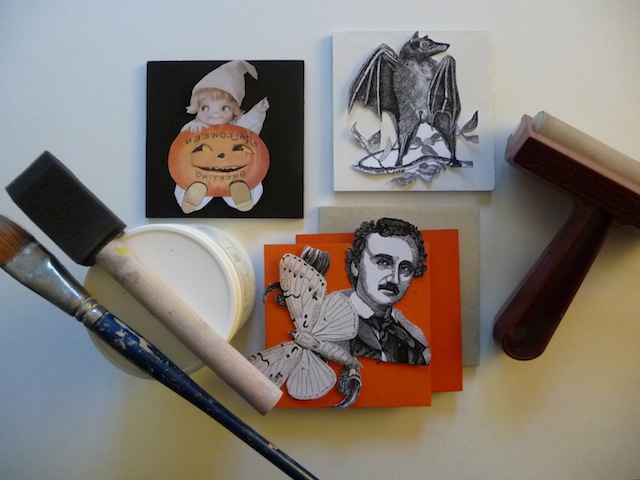
It may only be September, but Halloween is in the air. It’s already been heavily promoted in a number of stores since August, which seems a little early, but trust the retail world to try and squeeze a few more dollars out of us. I’m jumping right in with this coaster project, which involves using Halloween inspired vintage images, transferred onto wooden bases.
Materials
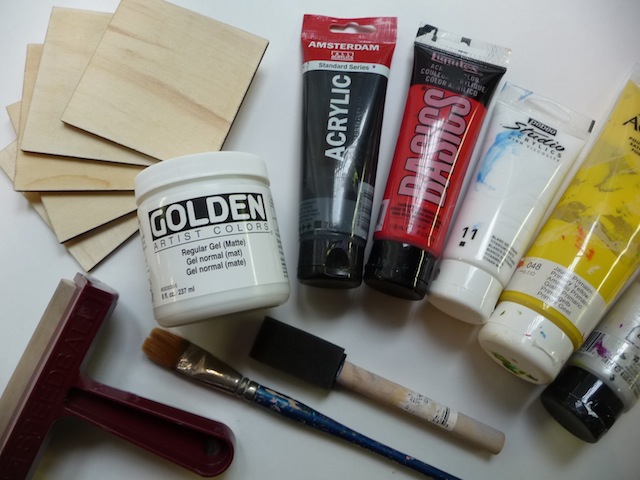
- wooden coasters
- acrylic paint
- Acrylic Gel Medium for transferring the images
- flat paint brush and/or foam brush
- brayer
- laser printed images
- scissors
- spray bottle with water or container with water
- paper towels
- waterproof acrylic sealer
Instructions
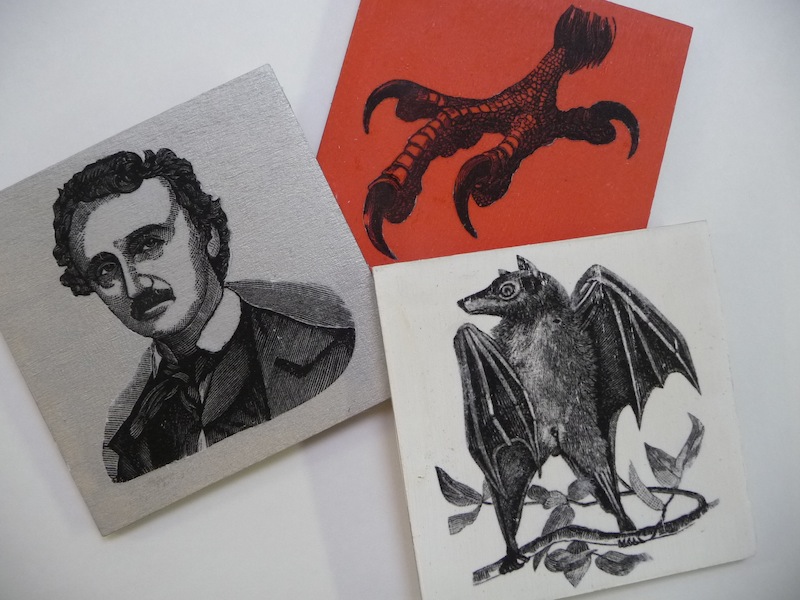
1. All sorts of images can be used to make Halloween themed coasters. These ones were found over at The Graphics Fairy, a great site which provides a wonderful selection of free vintage images.
All images should be laser printed, rather than inkjet. Since last week’s project about image transfers, I have experimented with both, and inkjet images remain faded compared to laser printed ones. And remember, if you’re using text, don’t forget to reverse the image first.
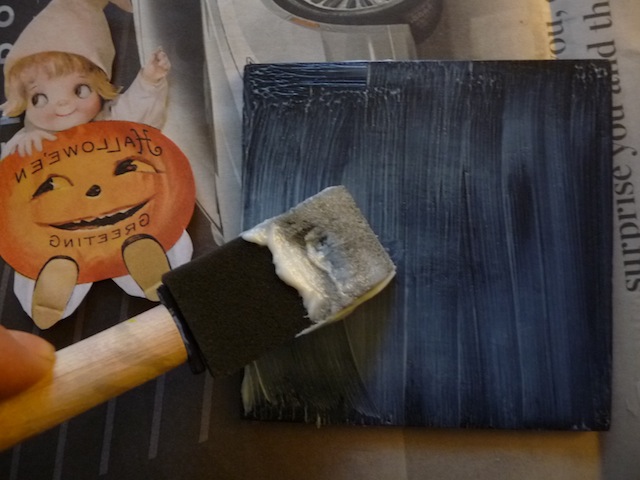
2. Wooden coasters are easily found at craft stores and dollar stores. These ones were purchased at Michaels. Paint each coaster with acrylic paint, in Halloween themed colours. Allow to dry.
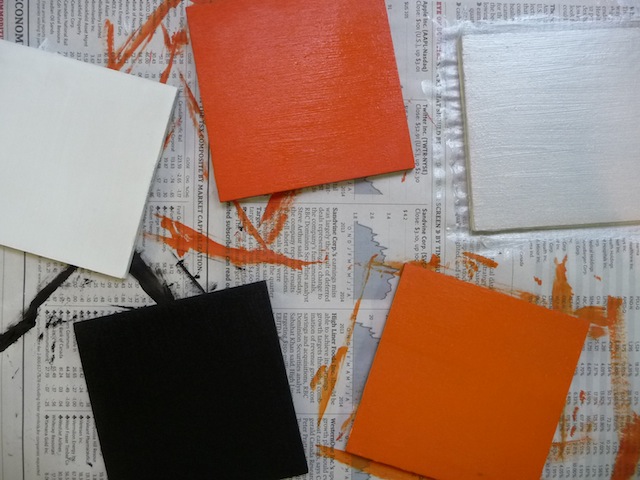
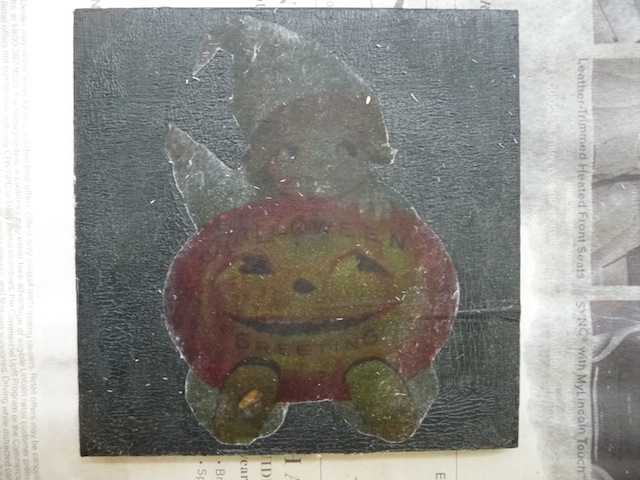
Unfortunately, black turned out to be too dark to allow a transferred image to show through properly. You can see the tragic results in the photo below. Stick to lighter colours like orange, white and silver, for best results.
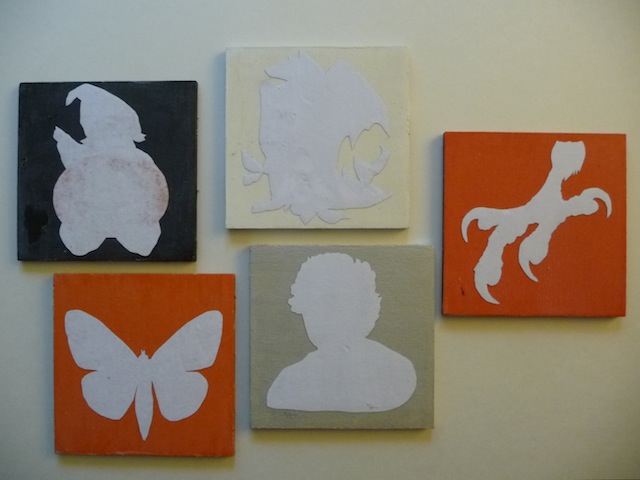
3. Cut out the laser printed images you will be using, making sure they are the right size for the coasters.
Apply a thin, even layer of Acrylic Gel Medium on the entire surface of the coaster, using either a flat paint brush or a foam brush.
Place the image face down, and use a brayer to remove any air bubbles, and to ensure the entire image has good contact with the medium. Allow to dry completely, preferably overnight. If the Acrylic Gel Medium is not completely dry, it will create a textured effect on the surface of the paint.
4. Once dry, apply a small amount of water onto the surface. A spray bottle works well for this. Allow it to penetrate the paper.
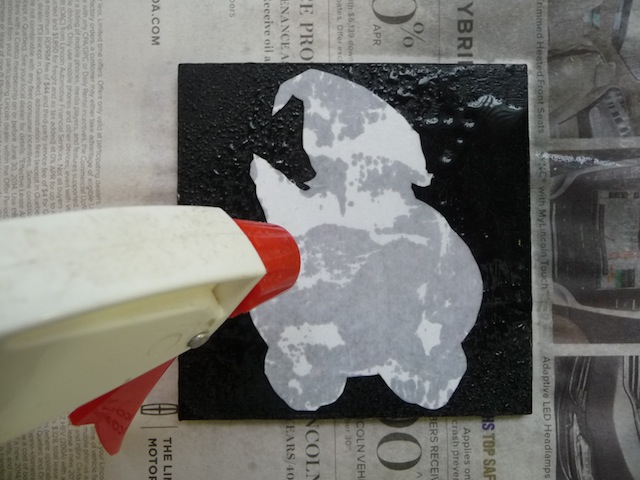
Using your fingers, begin rubbing off the pulp. You can switch to a paper towel or sponge if it becomes too uncomfortable for your fingers. Take care when removing the pulp since part of the image can also come off. Once all the pulp has been removed, you will see the transferred image. As it dries, you might notice it becoming cloudy in some areas. This means there is still pulp to be removed. Simply wet the paper again, and rub it off. Allow to dry completely.
5. To make these coasters water resistant, you’ll need to apply an acrylic sealer like Krylon Crystal Clear Acrylic Coating Aerosol Spray or Aleene’s Spray Acrylic Sealer. Sealers can be found in hardware stores or art supply stores. I personally haven’t used either of these, and don’t know how they perform over time, so do ask for advice when making your selection.
Out of five coasters, three turned out really well. One failed because the black colour prevented the image from showing properly. The second failed because the Acrylic Gel Medium was not given enough time to dry, causing an unwanted texture to appear on the surface of the paint. Letting it sit overnight seems to be the safest thing to do. Here’s hoping this helps you avoid any possible problems. Good luck!


Oh those are really cool! I have never tried this technique, so thank you for the tutorial!
Thanks Danni!
Thanks for great instructions on a fascinating medium! I think I’d be on the edge of my seat waiting to see the transferred image!
And for us “Halloween Nuts” no, my dear, September is NOT “too early” for projects like this! I’d click on one in April if I had a chance!
LOL! I’d probably do the same thing. I’m sure you’re already working on some wonderful ideas with your little ones 🙂
Thanks for linking up at Rhinestone Beagle! Come by and check out our “wanted” post, from sept 10th, for crafters like you to participate in out annual Howl-oween Craftathon. We’d love to have you join in.
Thanks Anita!
These are so cute! Once Oct. is here I am so into Halloween. Love, love it! Thanks for sharing with SYC.
hugs,
Jann
These are awesome! thanks for linking up to DIY Inspired, you’ve been featured!
Thanks you so much for the feature! I really appreciate it, and wish I could comment on your blog, but you’re only allowing that through Google+. Have a great day!
Pingback: Spooky Halloween Coasters - Reader Featured Project - The Graphics Fairy
Pingback: 16 Halloween Craft Projects - The Graphics Fairy
Pingback: 35 Halloween Decoration Ideas and Crafts - The Graphics Fairy