

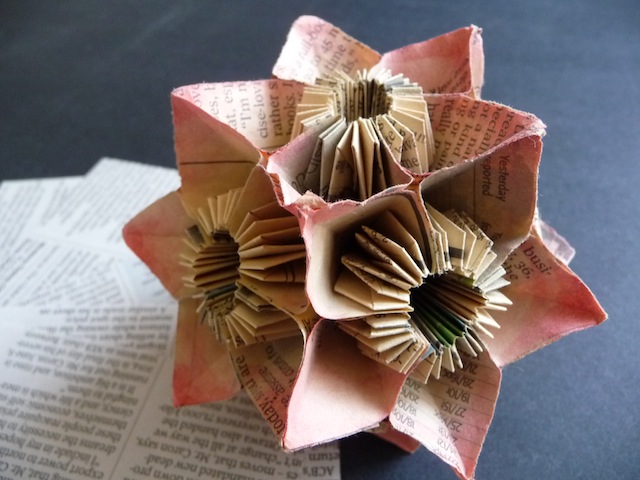
Years ago, we had a visitor from Japan who gave us a kusudama flower she had been discreetly making during her stay here. It was simply beautiful. Over a period of several months, she had been quietly cutting, folding and assembling pieces of newspaper in her room whenever she had some spare time. That meant folding 60 petals, assembled into twelve flowers, to create a ball-like shape referred to as kusudama. She also added a touch of watercolour paint to the edges, using one of those cool Japanese water brushes. You can see a photo of the flower at the end of this post.
This project involves making just one component with 5 petals, as pictured above. However, if you’re feeling inspired…
Materials
- 5 sheets of origami paper or other paper cut into squares
- pencil, ruler, craft knife, cutting mat, if cutting your own paper
- glue or double sided tape/scissors
For information about origami history and folding tips, have a look here. For information about symbols and basic techniques, click here.
Origami Flower Instructions
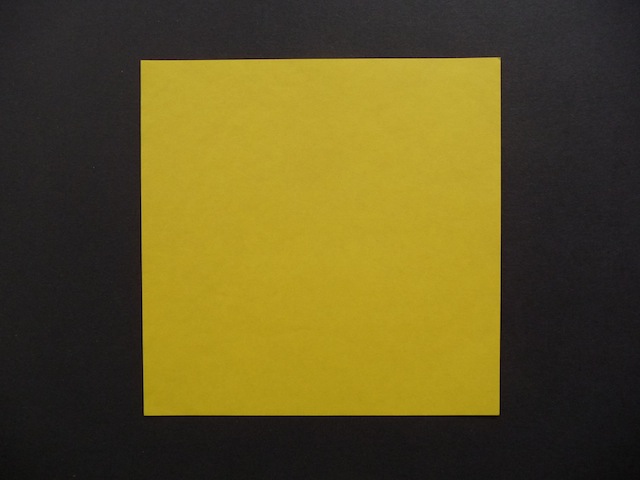
1. Begin with white side up, if using traditional origami paper. This sheet had colour on both sides.
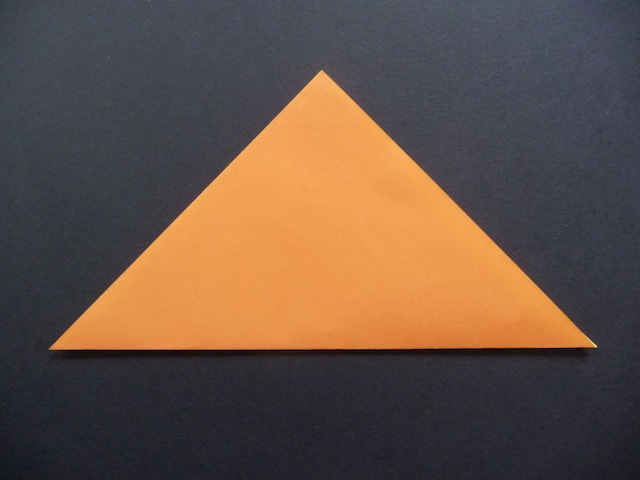
2. Valley fold paper in half diagonally.
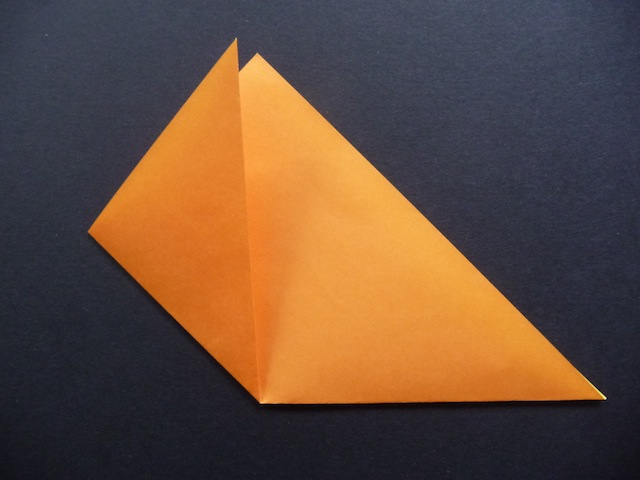
3. Valley fold one side to line up with the upper point of the triangle.

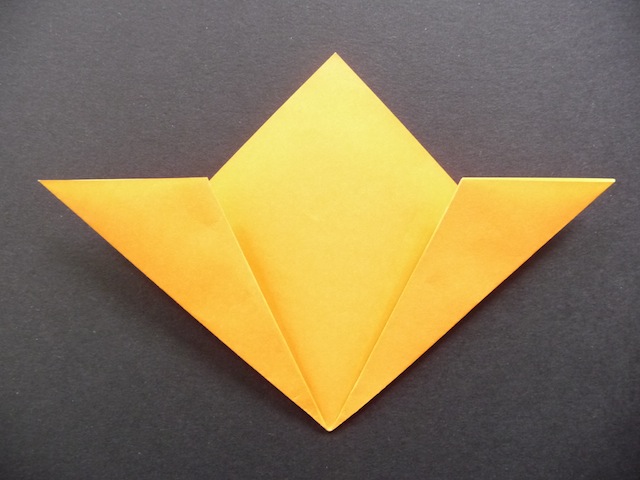
4. Repeat on the other side. You will now have a square.
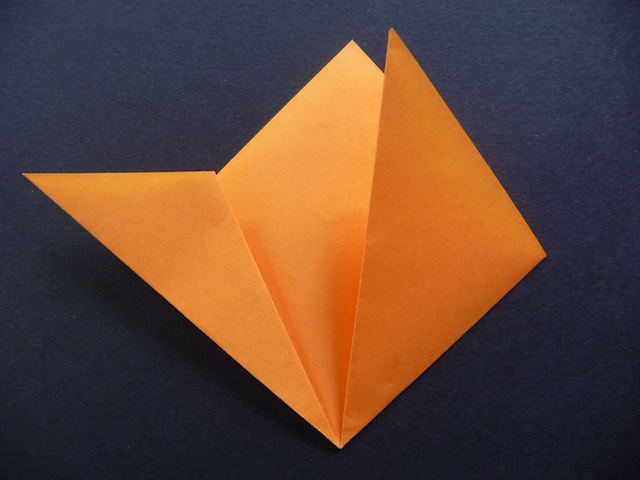
5. Take one of those points and fold it down, so the edge aligns with the side of the square.
6. Repeat on the other side.
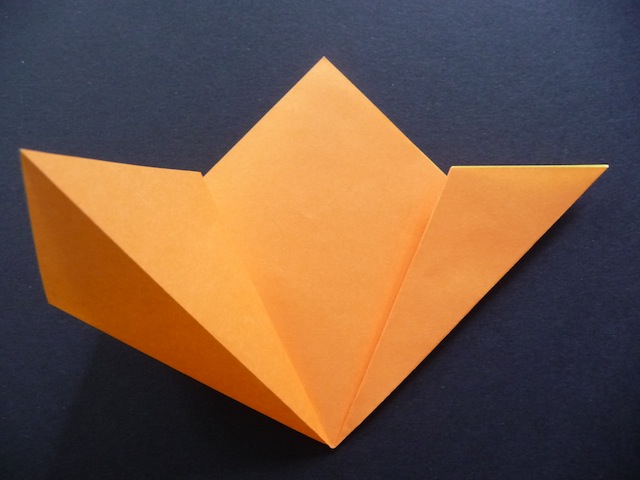
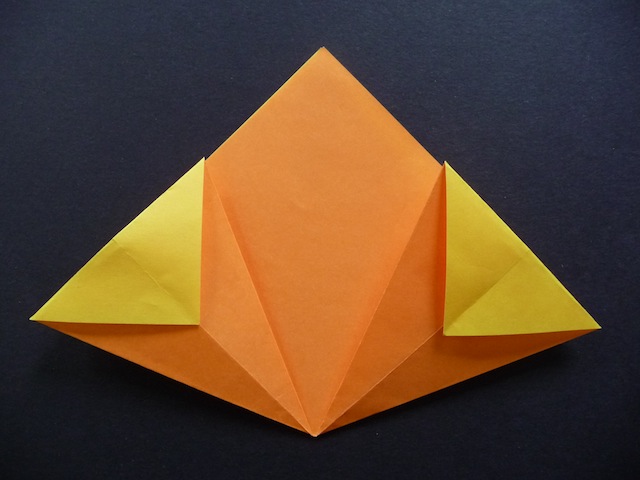
7. Unfold and open up one side. Flatten and crease well.
8. Repeat on the other side.
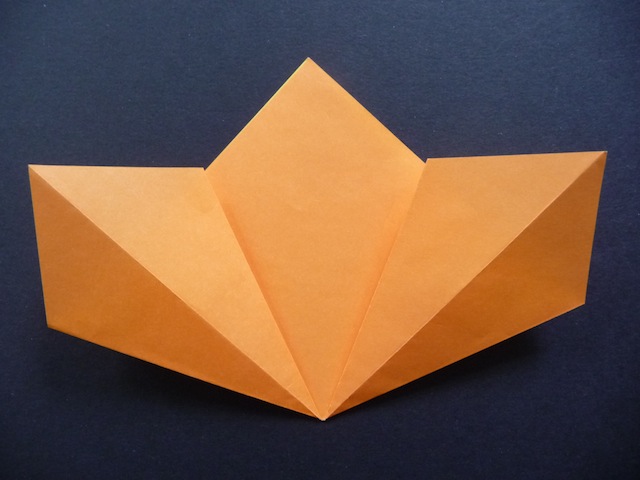
9.Valley fold the top part down to make a small triangle, making sure the point aligns with the centre crease.
10. Repeat on the other side.
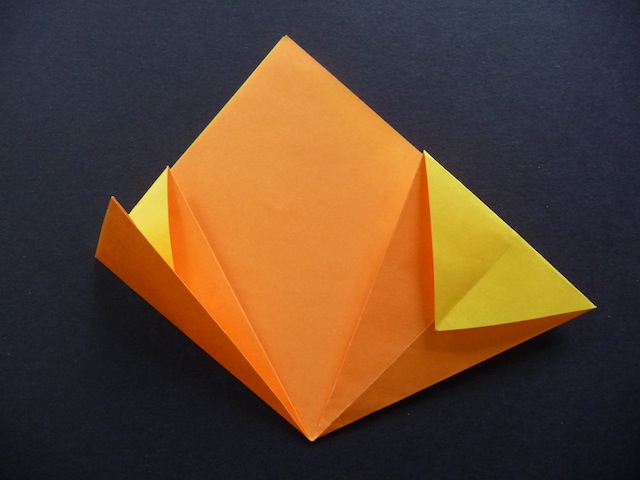
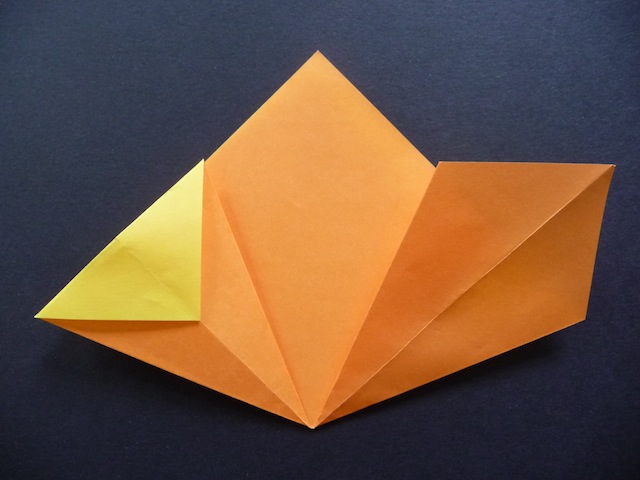
11. Valley fold one side in half, along the existing crease.
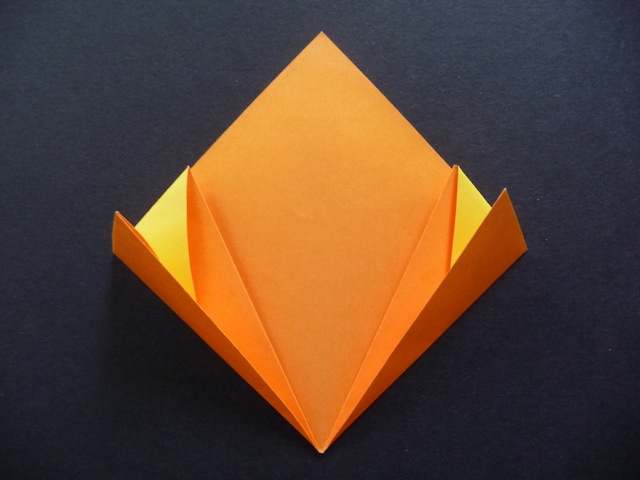
12. Repeat on the other side.

12. Apply glue or double sided tape to the outside of one of these folds. To make the petal shape, curl the paper inwards and join both sides together, making sure to align the edges. You have now completed one petal, and will need five of these to make one flower.
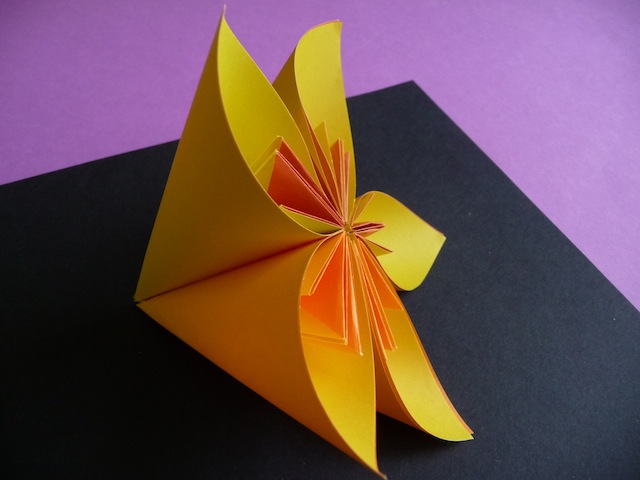
13. Apply glue or double sided tape along one of the outside edges of the petal. Press against the edge of another petal, making sure the top and bottom are properly aligned. Continue until all five petals are attached. If you decide to make a kusudama flower, you will need to make 12 more of these smaller flowers.
Here is a photo of the lovely kusudama flower I mentioned earlier:


Oh, so pretty! I will have to try this one soon!
Thanks Carrie. You should give it a try 🙂
WOW! Is all I have to say about these flowers! Simply amazing! Did I mention WOW!
Thank you 🙂 Your turn!
Very pretty! I loved doing origami when I was younger, so this brought a real smile to my face 🙂
Thanks for sharing 🙂
Happy Easter Coming soon and it’s always great to see creative minds at work. 🙂
Visiting from MONDAYFUNDAY @ C.R.A.F.T. linky party
Smiles,
Suz @MaytagNMom
NW Illinois
<a href=http://maytagnmom.blogspot.com/2013/03/i-love-vintage-looking-graphics.html
Thanks Suzanne! I love origami because it doesn’t take much to get really satisfying results – which is why kids probably love it 🙂
Amazing !
Thanks!
Nice! I have a very fond love for origami.. Consider it one of the best ways to recycle magazines. Hadn’t seen this flower yet!. Nice reading you! xx
Thanks you 🙂 You’re so right. It is a wonderful way to recycle old papers, which also gives designs a unique look. Thanks for dropping by!
Beautiful
Thank you so much!
These are great! I love the fun colors you chose and the ingenuity of them! My kids love origami, we will give these a try! Krista @ http://ahandfulofeverything.blogspot.com
Wonderful! Have fun 🙂
Very pretty. I pinned it! You may be interested in my origami posts on http://www.grandparentsplus.com
Thank you Phyllis! On my way to see your origami posts.
wow!! Beautiful! I’m amazed! Thanks for linking up to Tasteful Tuesdays! love it! Really appreciate you stopping by my blog! I’m trying to keep in better touch with my linkers/readers… If you already follow me, please let me know I will find your blog on Bloglovin (I’m transferring my follows there)if you don’t follow in any way, would you consider following via GFC or other method?
http://www.nap-timecreations.com
Thank you!
They are really good. I am going to pin it – not sure I could manage to make them mind.
Visiting va RedTedArt
Thanks for pinning. They’re really easy to make. You should give it a try 🙂
Awesome! Thank you for sharing!
Thanks for visiting!
I love these origami flowers.
Thank you Carol!
So pretty! Thanks for the tutorial!
Thanks Anita 🙂
These are so pretty!! Thanks for showing us how. Linda
Pinned it. I love oragami.
That’s so nice of you. Thanks Jessica!
Thanks Jessica!
I love the pictures. My girls often try origami and we get stuck because we can’t figure out how to fold next. I think the photos are much easier to see than the sketches.
You can also try videos on YouTube. It’s so much easier when you can watch someone demonstrating the folds.
This is really fun! I’d love for you to come link up at my party going on now at smallfineprint.com
Thanks Mandy!
What a lovely idea. I am going to set my daughter going on this. I’m sure she will enjoy making some flowers.
Wonderful! Hope she has fun 🙂
Beautiful flowers! Thanks for partying with us at Time To Sparkle!
Wonderful tutorial! I loved the outcome! So cute! Beautiful!!
Great post!! I included it in my post Βόλτα στη Γειτονιά #26 🙂
Have a great week!!
Thank you so much Christina!
So pretty! Thanks for sharing this at my Pin Me Linky Party. I hope you come visit & link again.
A lovely tutorial! Thanks for sharing at Sun Scholars! I am featuring you at this week’s For the Kid’s Friday link party!!!
Thank you Rachel! I really appreciate it 🙂
Thank you for sharing on Blog Stalking Thursday! I have featured this project on Pinterest as well as my blog on Blog Stalking Thursday Features. I would love for you to stop by and grab a feature button, you deserve it!
I just love everything you put out on this blog…featuring you yet again at Creative Juice…and sharing at my paper board over at Pinterest.
Wow, thank you so much for your kind words, Nicolette!
Pingback: Creative Juice
Thank you for sharing at Sharing Saturday!!
Thanks for stopping by and linking up an awesome project. Stop by again soon!
Have a great week!
Susie@Bowdabra
http://bowdabrablog.com/2013/04/06/crafty-showcase-link-up-anything-fun-in-the-craft-project-linky-8/
Pingback: DIY How to fold an origami kusudama flower ball - Recycled, Paper & Cardboard crafts
Pingback: Creative Juice
love em
Thank you!