
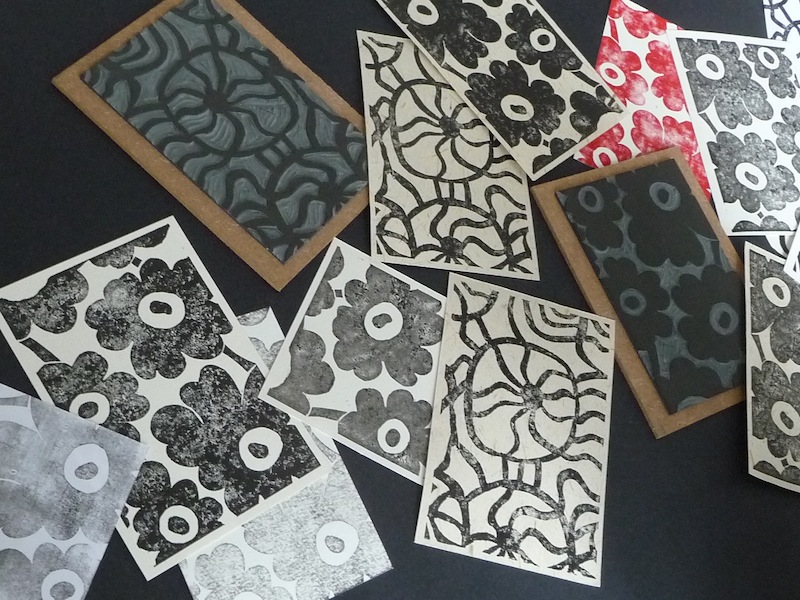
I’ve loved Marimekko fabrics since highschool, when I purchased a wonderful black and white striped fabric to make pillows for my room. Their bright, bold graphics were stunning, and unlike anything I had seen. So of course I was thrilled to see Marimekko, With Love, currently on at The Textile Museum Of Canada. Room after room of fabrics, products and images tell the story of the company’s history and its recent revival, teaming up with the likes of Crate and Barrel, Converse, and Finnair planes, where their iconic poppy can be seen flying through the sky. There’s a wonderful simplicity to their designs, which makes them ideal for exploring the linocut printmaking technique.
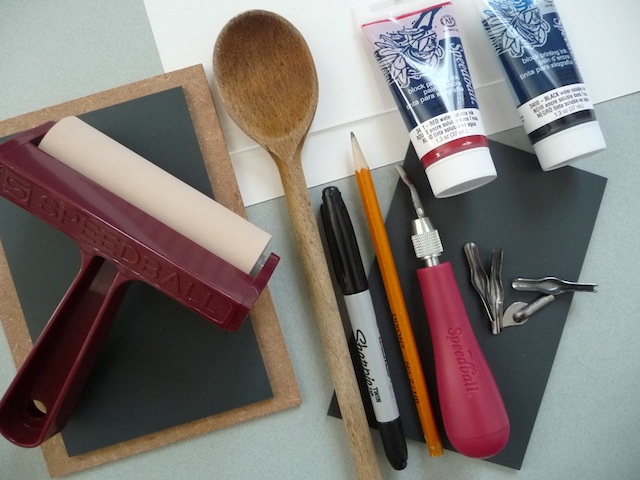
Materials
- paper, pencil, eraser to draw design
- scrap paper
- tracing paper
- masking tape
- coin
- linoleum block
- linoleum cutter
- ink for printmaking
- soft rubber brayer
- surface for ink eg. piece of glass or plexiglass, small tray
- paper for printing
- tool for applying pressure e.g. wooden spoon, metal spoon, acrylic brayer or baren
Note: Linoleum tools are sharp and can cut, and should only be used by older children (e.g. highshool age) and adults. Even then, you need to be extremely careful about keeping your free hand out of the path of the tool. I will explore a fun and safe alternative for younger children next week.
Instructions
1. Do an internet search for Marimekko, and have a look at the image results. You can also learn more about this wonderful Finnish company by visiting the www.marimekko.com website. Using scrap paper, trace around the rectangular linoleum block you’ll be using. Sketch out a simple Marimekko design inside the rectangle.

Linoleum blocks are inexpensive to buy, and available in art supply stores. I glued mine onto a piece of wood using Weldbond glue, and placed a stack of books on top overnight. You can also use the linoleum as is.
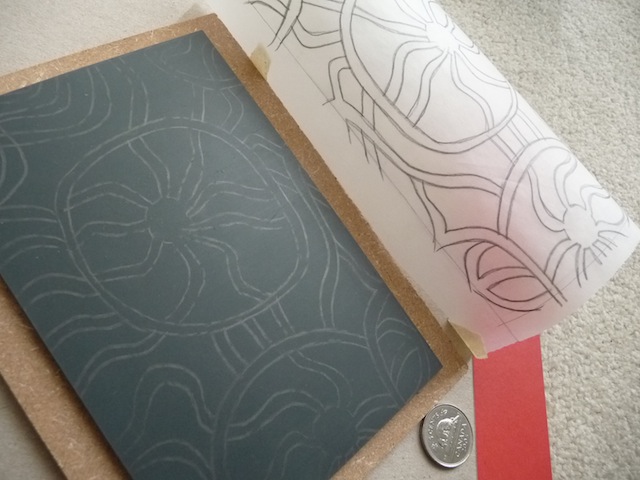
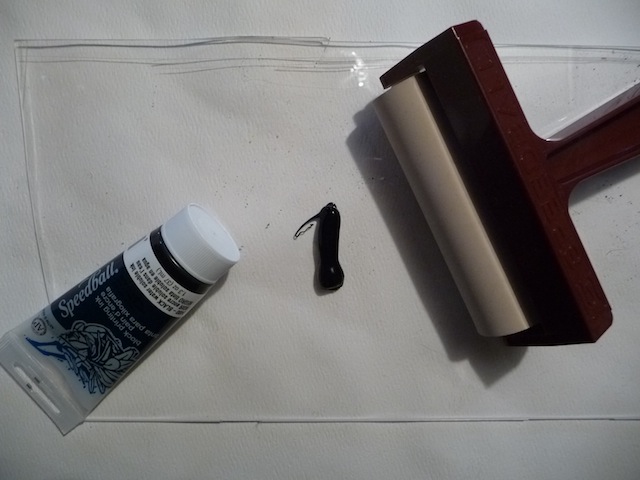
2. Tape a piece of tracing paper on top of the design and secure with masking tape. Trace over the design with pencil. Flip the paper over to the reverse side, tape it to the linoleum block and rub over the pencil with a coin. Go in all directions to make sure the entire design is transferred. Some websites recommend going over the transferred design with a Sharpie, but others found the colour from the marker transfers in the printing process, so please ignore the Sharpie in my materials photo, and just stick with pencil. Also, keep in mind that whatever you draw onto the linoleum will be printed in reverse.
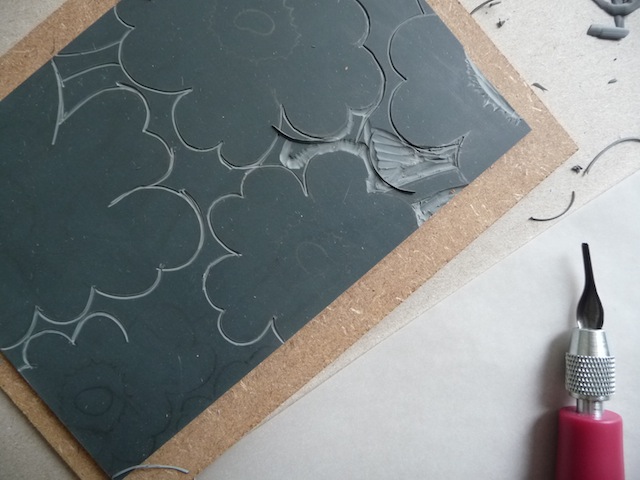
3. You’re ready to begin carving away the negative space on your linoleum block. The remaining areas are the ones which will be inked and printed. If this is your first time, practice using the different blades your linoleum tool comes with. I found outlining with the narrowest blade worked well, followed by a wider blade for removing the rest. Be very careful carving, and make sure your free hand is not in front of the tool.
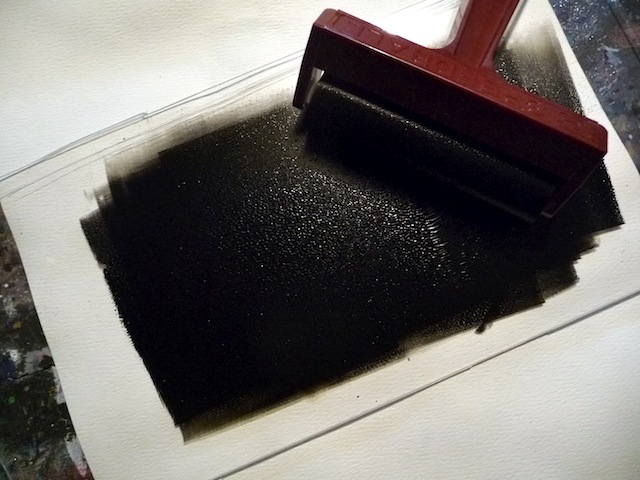
4. Now for a test run. Put a small amount of ink onto a sheet of glass or plexiglass.
Use a soft rubber brayer and roll over the paint, being sure to go up and down and side to side. Continue until the paint has spread out evenly, and the brayer is evenly covered in ink.
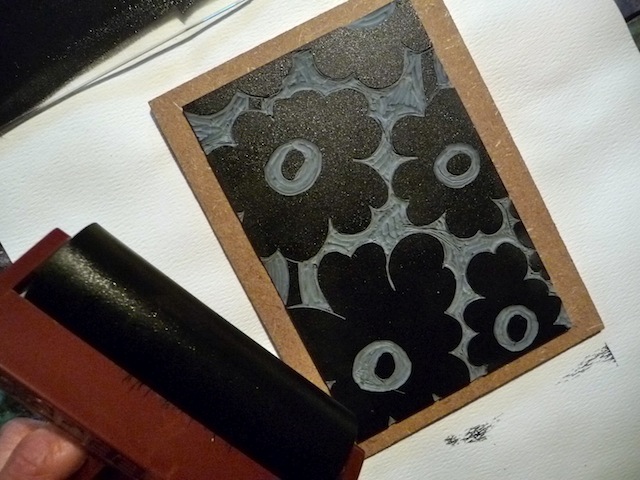
Apply it evenly to the carved linoleum, by rolling it up and down several times. To add more paint, roll the brayer in the paint again, and add another layer.
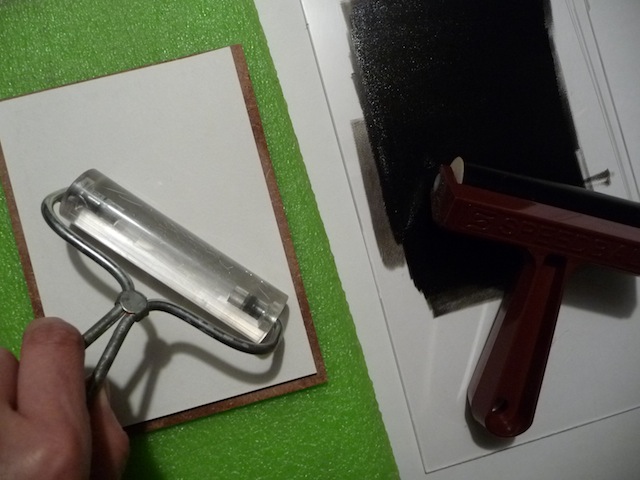
Place a piece of paper on top, and apply pressure using either a baren, an acrylic brayer, or the back of a metal or wooden spoon, to the entire surface. You can always lift up a corner to see how much ink has been transferred. Remove paper carefully, and see if any areas are showing up that shouldn’t be. Remove those sections of linoleum with the tool.
Results will vary based on the amount of paint applied, the amount of pressure applied, and the type of paper used.
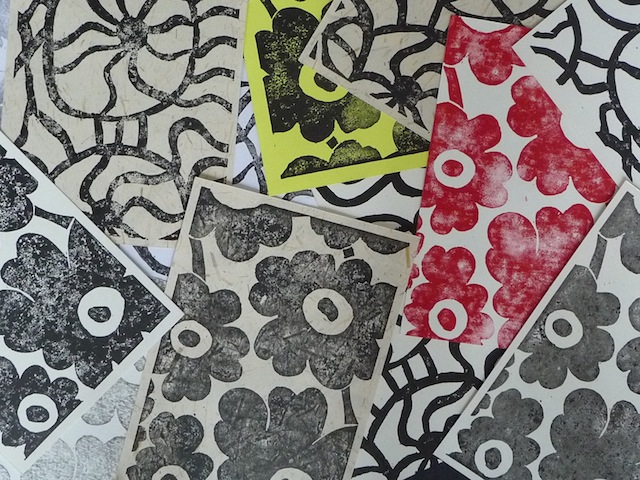
Smooth, absorbent papers will have the best results. Textured papers will not allow paint to adhere evenly, but can also look great. Experiment with different kinds to see what you like best. These prints can look wonderful framed, and are also a great way to make homemade greeting cards.


The internet is filled with wonderful linocut print images worth looking at including Pablo Picasso, M.C. Escher, and Henri Matisse.


I love linocuts! I wish I was patient enough to do this myself… without hurting myself… I’m so glad there are people like you who can do both! 🙂
Stopping by from Keeping it Simple’s Motivate Me Monday 🙂
Thanks Lorene!I made it through without reaching for the bandaids 😉
This is an art I learned in 7th Grade Art Class. It is really fun to see it come
into the world of art again! I really love the designs pictured. I just wish I was artistic enough to try it. Thank you for sharing!
Thanks Pam! I also remember learning this in elementary school.You should try it again. I copied the Marimekko images, and you can always trace something if you prefer. The rest is all about patience 🙂
Hi! Very great and interesting, At the start Of this post when I read ” linocut” I thought …What is? Because the name in Italy
Is Linoleum 🙂 bhe! Thank you 🙂
Thank you!
What a fun detail & I love the post. thanks for sharing! 🙂
What a fun idea! I’ve never seen anything like this before. Thanks for the step by step.
I found you today thru the Linky Party at Terrific Tuesday, where I’m #68. I hope you get a chance to stop by my blog and leave a comment, too!
~ Megin of VMG206
Thanks for dropping by Megin!
Thanks for the great post! Love this a lot!
Thank you!
I haven’t carve a stamp in several months and was playing around with designs last night. Your post gave me the incentive to get up and do it! I was in love with Marimekko designs>
Perfect timing! Marimekko is always inspiring.
WOW!! That’s Amazing!! Thank you so much for stopping in and linking up to Knock Our Socks Off!!!
xo
Angelina
I am borderline obsessed with Marimekko, and I *love* your prints! Thanks for the great tutorial!
Thanks Katherine. I totally understand your obsession with Marimekko. I have an umbrella and a mug with their prints on them. They even make black flowers look cheery!
Wow. Thanks for showing us how to do this. Appreciate it! Have a great weekend. have fun. Linda
this is too cool! I feel a visit to hobby lobby coming on!~
LOL! Thanks Kelly 🙂
Wow! That’s really awesome!
Thanks Bethany!
These are amazing! Love it. Just pinned and will be doing with the kids!
Wonderful! So glad to hear that 🙂
They look so beautiful. Thanks for sharing at Family Fun Friday!
Monica
http://happyandblessedhome.com
Those are so pretty! Thanks for sharing at Share it Saturday!
Thanks for hosting!
Cool prints! Thanks for sharing @ Submarine Sunday!
Navy Wifey Peters
Oh, how beautiful!! Thank you for sharing at Sharing Saturday!
Lovely! I’ll be featuring this on Share It Saturday!
Wow, what a great project! This one is new to me, but looks so fun. Thank you so much for sharing with us at A Bouquet of Talent! So thrilled to have you share with us this week! Have a wonderful weekend. 🙂
XO
Kathy
Thanks for linking up and sharing your projects with us. You are always so inspiring! Art ROCKS!
Susie @Bowdabra
http://bowdabrablog.com/2013/03/09/crafty-showcase-link-up-anything-fun-in-the-craft-project-linky-4/