
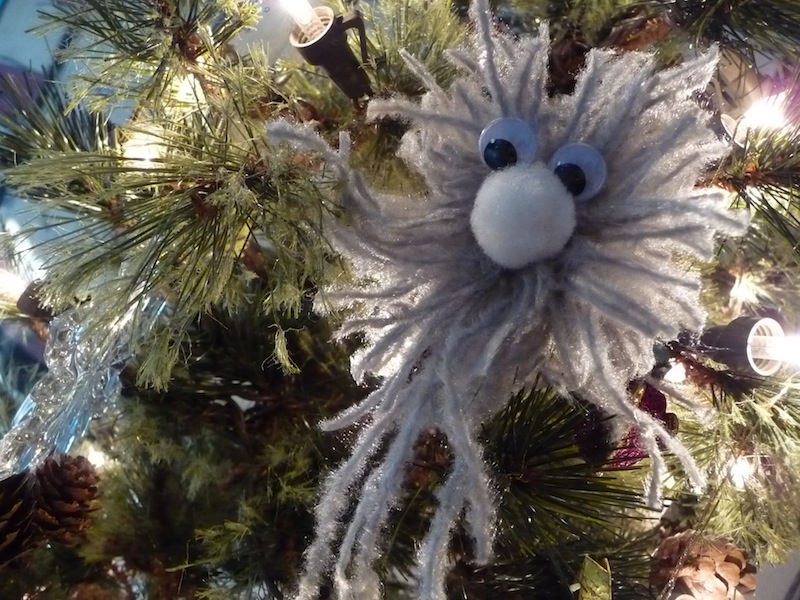
Last year, my daughter came home from school with a bunch of little pom pom people she had made. They lived in our Christmas tree and looked adorable. This year’s bunch look a little ragged, like they stayed up too late, and that’s what I love about them. They’re incredibly easy to make, and a fun way for young children to contribute to your holiday decor. Perfect pom poms be gone!
Materials
- yarn
- scissors
- googly eyes
- pom poms
- glue gun
- thread for hanging

Instructions
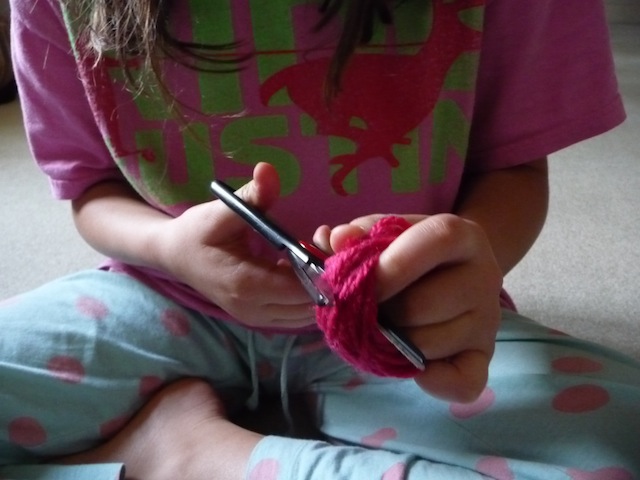
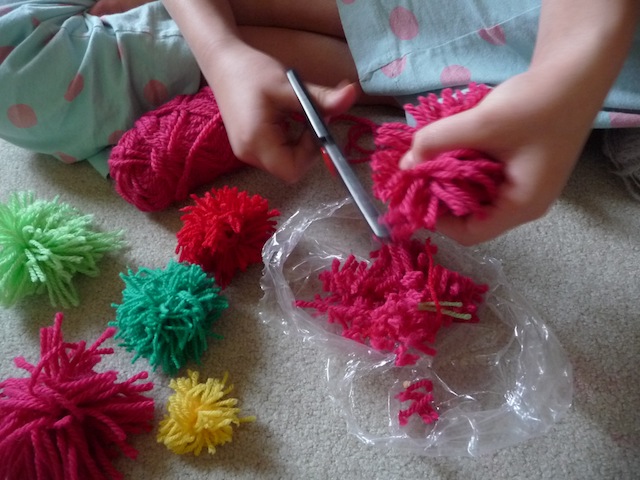
Wrap yarn around your fingers until you’ve got a nice thick amount; anywhere from 100-200 times is good. The more yarn you use, the fuller the pompom, so be generous with the number of times you go around. Also, the more fingers you use, the larger the pom pom. After some experimenting, we found that a two finger width worked well. And remember, don’t wrap the yarn too tightly or it will be difficult to remove.

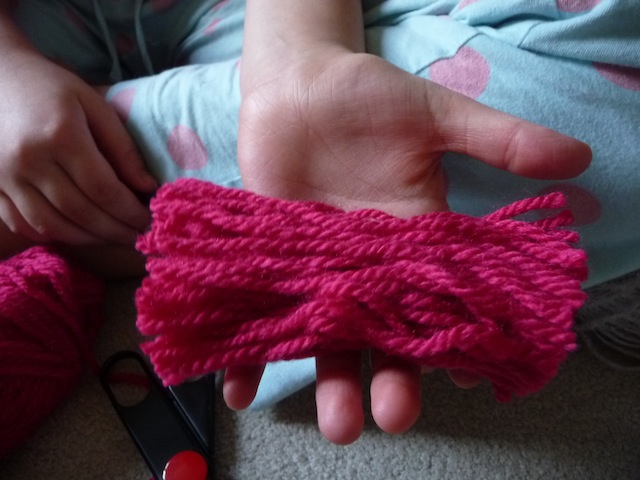
Once you’ve gone around enough times, carefully remove from your fingers.

Cut in half.
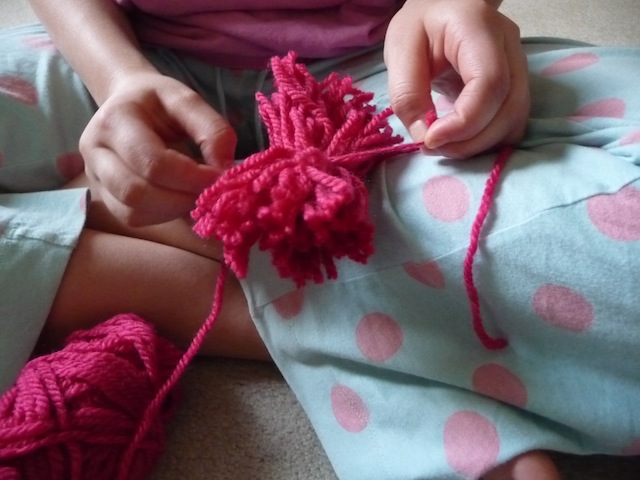
Cut a piece of yarn or decorative thread and tie a knot around the centre.
You’ll be able to use this to hang the pom pom in a tree, so make sure it’s long enough to make a loop with a knot. These little guys can also be perched on a branch if you prefer.
Fluff up the ball, and trim the ends if necessary.
We were aiming for a ragged, dishevelled look, but if you prefer something a little more precise, it’s best to use cardboard instead of fingers, and Martha’s got a great tutorial for that.
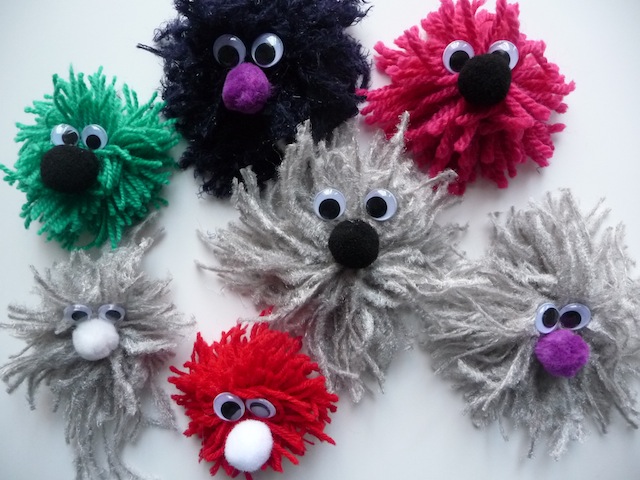
Finally, use a glue gun to add googly eyes and a pom pom nose.


How very creative! Thanks for sharing. 🙂
Thank you!
These are adorable. Each one is so unique and for some reason they remind me of the Muppets:-)
These little guys are honoured to be compared to the muppets! Thanks for dropping by.
I have to make these!!! The little family will live on my fridge as magnets! Thanks for this cutie craft!
Oooh, I love the idea of making magnets with them! Wonderful idea.
How cute are these little pom pom people
Wishing you and your family a wonderful
holiday season.
Thanks so much Sandy. Hope you also have a wonderful holiday season!
Oh my cuteness! Thank you so much for sharing ’em at our Show and Tell Linky Party!
Super cool! I’m pinning to try these with my girls!
Thanks for linking to a Round Tuit!
Hope you have a fabulous week!
Jill @ Creating my way to Success
http://www.jembellish.blogspot.com/
These are too funny and CUTE!! Thanks for linking to Adorned from Above party. I was co-host and am following you now. Best Christmas Season to you. Linda
Thanks so much Linda!
I can see a lot of fun possibilities with this project!
Oh doggone those are CUTE! And so heartwarming to know a child made them. Some of my favorite memories are making Christmas goodies like that, and I’m sure she’ll fondly look back on this.
Thanks so much for sharing at the party,
❤ Christina at I Gotta Create!
I remember making them as well, but with cardboard. Thanks so much for dropping by.
So fun! I would love for you to share this or any of your great ideas at the link party going on now (and every Saturday – Tuesday) at ‘Or so she says …” We’ve also got a fun Christmas Wish List Giveaway going on which includes a chance to win a Blend Tec. Hope to see you there! http://www.oneshetwoshe.com
Thanks Marie! I look forward to joining.
Ahhhhh, perfect. If I made the tree hair bow for my granddaughter, what was I going to make for her brother? Thank you.
You’re so welcome! Have fun 🙂
So fun and cute!! Thank you for sharing at Sharing Saturday!!
How adorable!! That’s the perfect project for kids. They are so fun. Thank you so much for sharing at A Bouquet of Talent. 🙂
i really like it.