
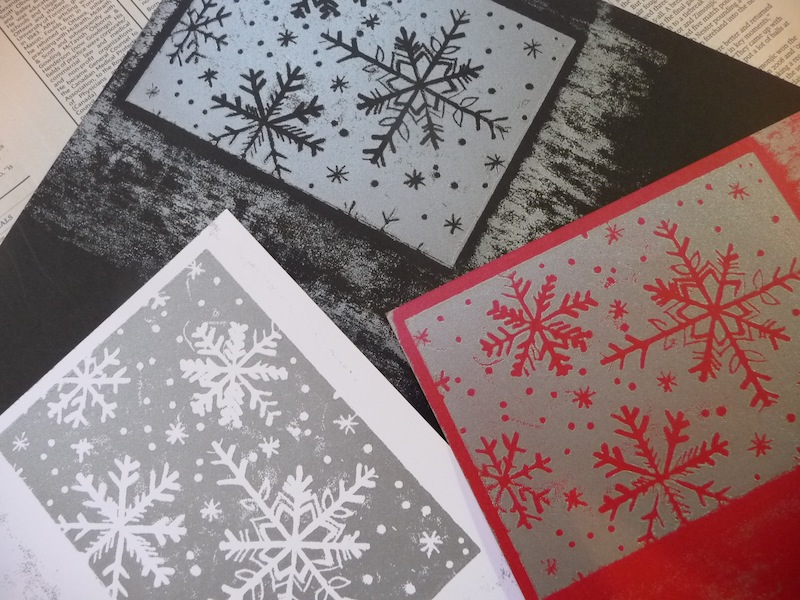
Scratch Foam makes it possible for kids to learn about printmaking in a fun and easy way. Turning the prints into cards allows them to showcase the cool results, and learning about snowflakes is a great way to start things off.
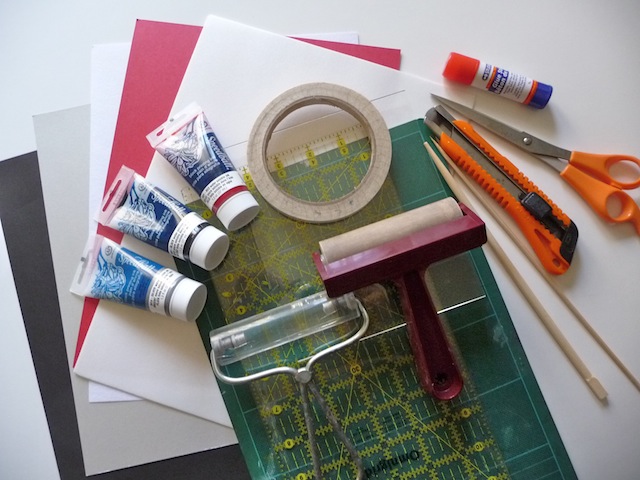
Materials
- scratch-foam board
- tools eg. chop stick, wooden skewer, ends of paintbrushes etc.
- sticky tack or tape
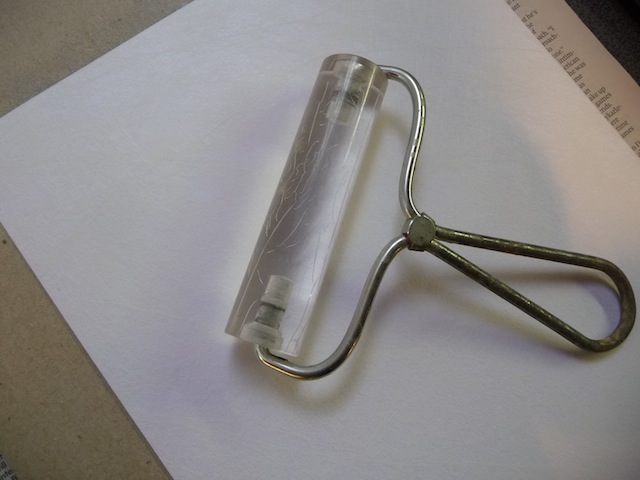
- soft rubber brayer
- ink for print making
- surface for ink eg. plexiglass, glass, plastic tray
- paper for printing on
- tool for applying pressure eg. acrylic brayer, metal spoon
- cutting mat
- craft knife
- glue or double-sided tape
- card stock for card making
Instructions
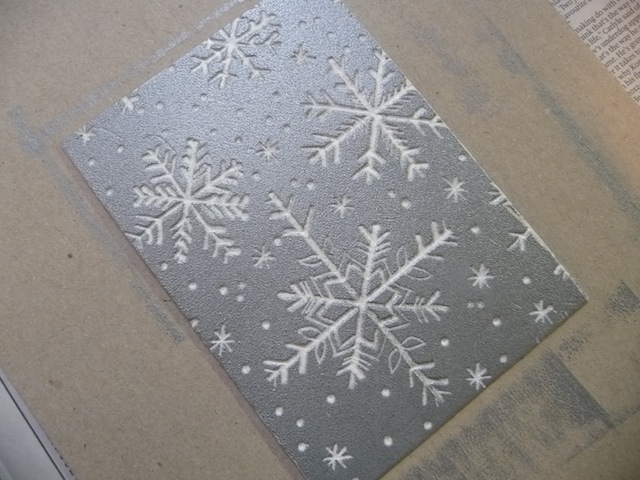
1. Scratch-foam boards are very easy to work with, and can be found in art supply stores. Pressing the foam compresses it, enabling you to create a design. It is the uncompressed/raised parts which the ink will adhere to, and print onto the paper. Either make your design directly on the foam sheet, or sketch out your ideas on paper first. Keep in mind the design will print in reverse.
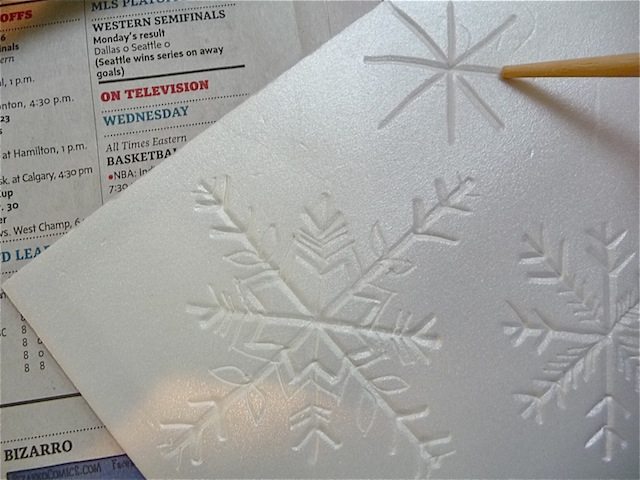
2. Anything that compresses the foam without damaging it, can be used as a tool. Try things like wooden skewers, chopsticks, or paintbrush ends.
3. Once you’ve completed the design, the ink can be added. Put a small amount on a surface like plexiglass.
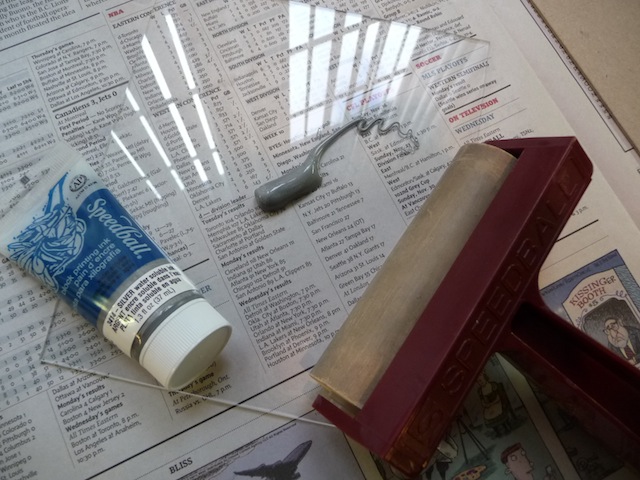
Use a soft rubber brayer and roll over the paint, making sure to go in all directions. Continue until the paint is spread out evenly, and the brayer is also evenly covered with ink.
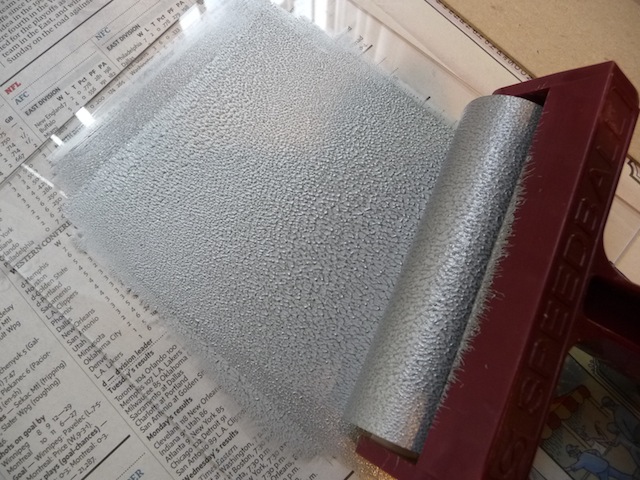
Secure the foam board to a table using sticky tack or tape. This will prevent it from moving around when applying the ink. Apply the ink evenly with the brayer.
4. Place a piece of paper on top, and apply pressure using an acrylic brayer or a metal spoon. Cover the entire surface well.
You can lift up a corner of the paper to verify if enough ink has been transferred.
Carefully remove the paper. Results will vary based on the amount of paint applied, the amount of pressure, and the type of paper. Experiment with different kinds of paper.
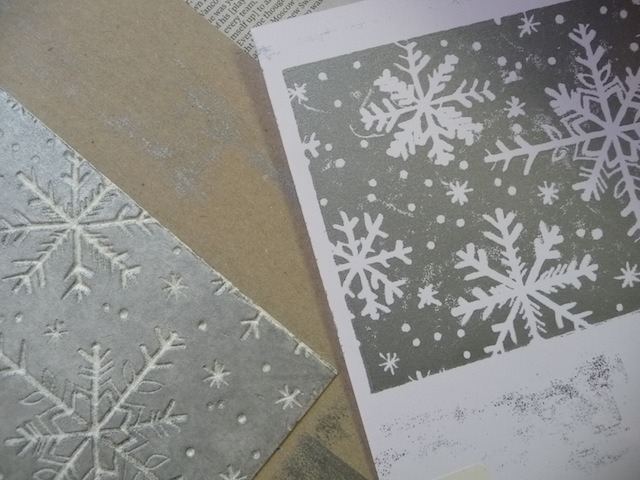
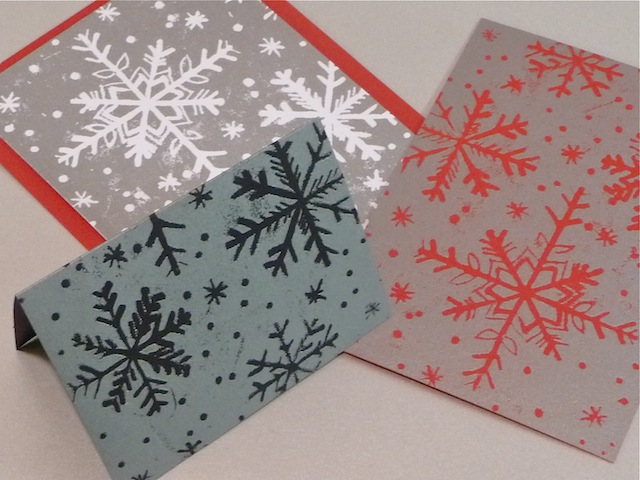
5. Once dry, these prints can easily be made into cards. Trim them, and mount them on colourful card stock using glue or double-sided tape.
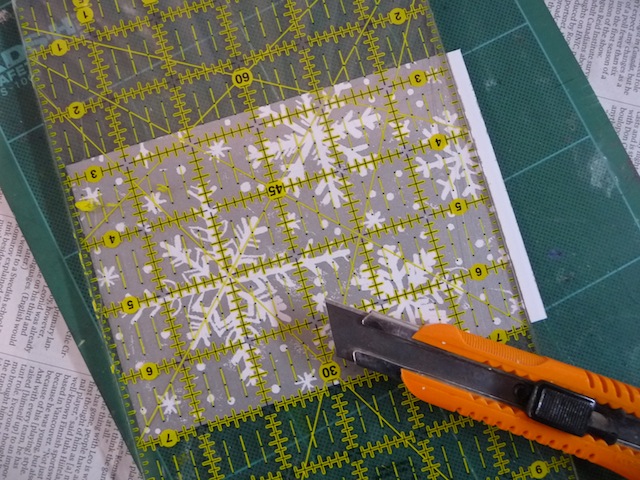
You can also fold them in half, so the design shows on both the back and front. Scoring them with a bone folder works well for this.


I used to teach printmaking with those clunky linoleum blocks and the special cutters. This method serves the same purpose with lots less expense and it’s safer too!
Very pretty design!
Thank you. I also love the idea that it’s safer, so young kids can try it out too. I still remember hurting myself with one of those tools, long ago at summer camp.
Gorgeous! thanks so much for sharing on craft schooling sunday. I’ve actually done this with lots of kinds of recycled foam, even small pieces of foam cups work wonderfully!
Thank you! I’ve read about people using recycled foam, which is such a great idea.
What a fabulously creative idea! Thanks for sharing it with SYC.
hugs,
Jann
Thanks Jann. Didn’t expect real snowflakes to be arriving so soon. I still haven’t finished raking leaves!
I’m going to make my own cards this year. I’m pretty excited! Love how you made your own. Thank you for sharing and linking up to Scraptastic Saturdays. This post has been shared via Facebook, Twitter and Pinterest. Have a wonderful week.
Thanks Andrea. Enjoy making your cards!