The origami star is a beautiful, yet fairly simple shape to make. Once assembled, it can be used to make an impressive greeting card or decoration.

Materials
- origami paper – 8 sheets, 3″ x 3″
- glue stick
- card and envelope
I used origami paper that was 3″ x 3″, but any size will do. This made quite a large star and once it was assembled, I found the right sized envelope at a stationary shop. I then cut construction paper to make the card. You can also give this card a more sophisticated look by using some traditional Japanese papers which you can cut to whatever size you need. There’s a great selection of papers and history about Washi on this website: http://www.japanesepaperplace.com
Click here for information about origami history, tips for folding, and shops for buying paper in Toronto.
Instructions
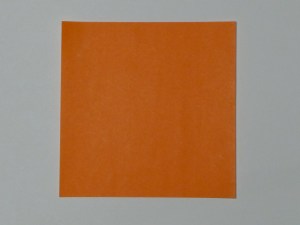
1. Begin with coloured side up.

2. Fold in half diagonally.
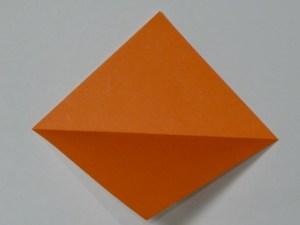
3. Open.
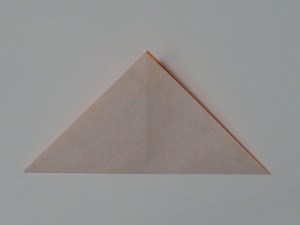
4. Fold in half diagonally in the other direction.
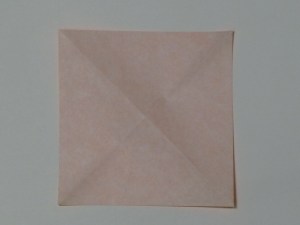
5. Unfold white side up.
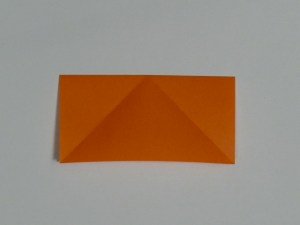
6. Fold in half.
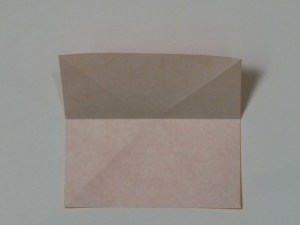
7. Unfold.

8. Fold in half again in the other direction.
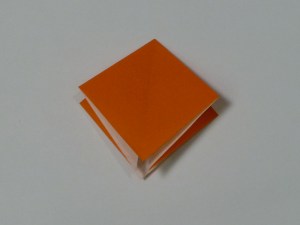
9. Holds ends together and collapse into this diamond shape.
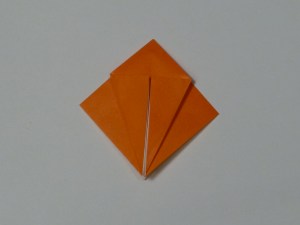
10. Keeping open ends at the bottom, fold the top layer of both sides towards the center line.

11. Fold top down making a strong crease.

12. Open up your 3 folds and flatten out.
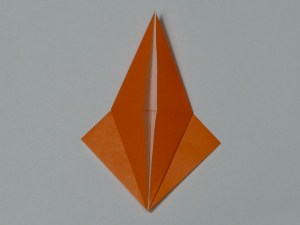
13. This is the final shape. Repeat steps 1-13 to make 8 units in total.
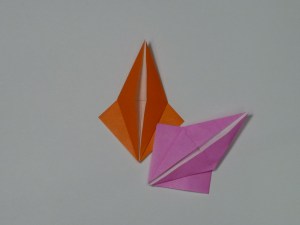
14. Add a bit of glue to the flap of one unit, and slide it into another unit.

15. It should look like this.

16. Attach all 8 units with flaps going from right to left, so they overlap properly in the front.

17. This is how the back looks finished.

18. This is how the front should look.
Filed under cards, origami
Tagged as cards, origami


Pingback: DIY Origami Card Ideas for Kids - Kids Art & Craft